A few weeks ago my friend Charles called me to organize another Tapas session with his clients. First I was delighted… Then as he told me that they were skilled cooks and wine connoisseur, I simply got scared!
Will I be able to surprize them if only interest them?
After a few sleepless nights thinking about the menu and many drafts dropped in the bin, I came to rely on some of my favourite cookbooks to structurate the evening menu.
The Ottolenghi Cookbook by Yottam Ottolenghi for the Broccolini Salad and the Marinated Burrata
Fusion by Peter Gordon for the Kofte and the Fritters
Hummingbird Bakery Cookbook for the Blondie recipe
Last but not least, I used the Divertimenti recipe for my cookies and adapted it my way as I used to do when I was at the Cafe!
The idea was to bring them fresh ideas through recipes as well as products that they are not used to have when they are in Paris.That’s why I choose Yotam Ottolenghi recipe for the range of unusual products he’s using in his recipes such as Middle Eastern or Asian products. I chose Peter Gordon for his ability to transform our basics into trendy fusion dish. At last, I chose the Hummingbird Bakery for it’s appealing deserts that last as well as they taste!
And to match those Tapas, I have asked again my “caviste” to provide me a fine selection of wines from France as well as foreign countries.

For the Champagne he chose a 2006 Larmandier-Bernier Champagne like the last time but he chose a Grand Cru Blanc de Blancs which was even more complex and tasty…
For the Red Wine, he gave me a 2004 Argentinian Wine called Cuvelier los Andes. Strong enough to drink with the Spicy Koftes, Fritters and Broccolini but not overpowering in order to enjoy the complexity of the Tapas ingredients.
And last but not least, I asked him for a white wine for the desert but not a sweet one as I am not fond of them and I did not want to saturate my guests with sugar as the Blondie and Cookies are already very sweet!
He found an 2007 Alsacian 2007 Schoenenbourg Grand Cru Domaine Marcel Deiss with candied fruits notes as well as mineral notes. It was very complex and perfectly balanced the simplicity of the deserts we had prepared. It also brought a little freshness by the end of the tasting which was very pleasant as we all got a little tired by our long evening in the kitchen.
Here is the full description of the Wine Tasting explained by Lea & Sandeman and the Tapas Menu with the recipes.
2006 LARMANDIER-BERNIER Vieilles Vignes de Cramant Blanc de Blancs Extra Brut Grand Cru
Pierre Larmandier is well placed with his Grand Cru vineyard in Cramant, planted in 1960 and 1932 . This is a minimal ‘dosage’, and is an ‘Extra Brut’ (less than 3g residual sugar), but the creamy texture, developed fruit, and subtle hint of oak gives a certain richness to this very delicious wine.
2004 GRAND VIN Cuvelier los Andes
The Gran Vin is a selection of the best wines, and a blend of 75% Malbec, 15% Merlot, and 10% Cabernet Sauvignon, given 11 months in French oak ‘barriques’. Notes of spice and pepper, plenty of rich and racey dark fruit with a very long finish.
2007 SCHOENENBOURG Grand Cru Domaine Marcel Deiss
From a mosaic of small parcels in this gypsum-rich Grand Cru planted in the 1930s to Pinot Gris, Riesling (both “red” or “black” variants!), Gewurztraminer, Muscat, and Sylvaner, Deiss’ 2007 Schoenenbourg smells bittersweetly of iris, freesia, fennel pollen, crystallized ginger, and candied orange rind. Hugely rich and carrying a load of sugar, it nevertheless displays uncanny transparency to inner-mouth floral nuances, subtle spices, and alkaline, chalky mineral notes. This shows less finishing sweetness than the 2006 and
displays kaleidoscopic flavor interaction. Expect it to dazzle for the next quarter century.
Tapas Menu
Marinated Burrata with Tomato Wedges
Corn, Dates and 5 Spices Fritters with Tomato and Avocado Salsa
Quinoa and Lamb Kofte with a Yogurt Sauce
Broccolini Salad with Sweet Sesame Dressing
Blondie served with a Frozen Yogurt Ice-Cream
White Chocolate and Pistachio Cookies


Marinated Burrata with Tomato Wedges
Ingredients
125g of Burrata
1-2 ripe tomatoes
Ingredients for the Marinade
1/4 tsp fennel seeds
1/2 lemon zest
8 basil leaves shredded
1tsp minced oregano
1 tsp very fine olive oil
1 tsp rapeseed oil
1/2 garlic clove crushed
1/4 tsp Maldon sea salt
Freshly ground pepper

Method
In a pan or a baking tray, roast the fennel seeds then let them cool down and crush them in a mortar. Mix them with the marinade ingredients.
Roughly tear the Burrata into pieces and cover them with the marinade for 15 to 30 minutes.
Before serving, slice the tomatoes into wedges and plate it with some Burrata and marinade on top.

Corn, Dates and 5 Spices Fritters with Tomato and Avocado Salsa
Ingredients for the Fritters
50g of flour
25g of wholemeal flour
25g of polenta
1,5 tsp of caster sugar
1/2 tsp of baking powder
1/4 tsp of baking soda
1/2 tsp of 5 spices
1/4 tsp of salt
1 egg white
165ml of buttermilk
15ml of avocado oil
75g of sweet corn
6 fresh Medjool dates pitted and cut into 8 slices
Ingredients for the Salsa
1 small ripe avocado
1-2 tomatoes
10ml of avocado oil
15ml of lemon juice
1 handful of mixed leaves

Method
In a bowl, mix together the dry ingredients.
In another bowl, whisk the egg white with the yogurt and avocado oil and incorporate the dry ingredients. You will obtain a thick mix.
Add the sweet corn and the dates and let it rest for 15 minutes.
Prepare the salsa:
Cut the avocado and the tomatoes into small dices. Coat them with the lemon juice and the oil. Season with salt and pepper and keep on the side.
Cook the fritters:
Heat a large frying pan, add a little avocado oil and drop a few spoons of the mix all over the pan but with enough space in between each so that they spread without toiching each other.
Turn them on the other side once they have a nice golden brown colour. Let them cook 1-2 minutes on each side. Place them on a plate and keep on doing until you finish the mix.
Before serving, add the mixed leaves to the salsa and put 1-2 fritters on a plate with a spoon on salsa on top of each.

Quinoa and Lamb Kofte with a Yogurt Sauce
Ingredients
50g of quinoa
250g of minced lamb
15ml of soy sauce
1 small handfull of parsley roughly chopped
1 small handfull of coriander roughly chopped
1 small handfull of dill roughly chopped
1/2 tsp of cinnamon
1/2 tsp of cumin seeds roast
1/4 tsp of cloves crushed
1 tsp of crushed chilli
Ingredients for the Olive and Anchovy Sauce
3 anchovy filets
2 garlic cloves
1 small handfull of mint
25ml of olive oil
25g of green olive paste
30ml de vinaigre de vin blanc ou de cidre
30 ml of cider vinegar or white wine vinegar
Ingredients for the Cucumber and Sumac Sauce
1/4 cucumber
75g of greek yogurt
1,5 tsp of sumac


Method
Place the wooden skewers in a jug of hot water to soften the wood.
Bring to a boil a pan of salted water. Rince the quinoa 20 seconds under cold water then cook it in the pan for 8 to 12 minutes until it start to open. The quinoa is cooked when it is tender butbstill a bit crunchy.
Pass it through a sieve and let it cool down then mix it with the other ingredients. Work the mix to get it homogenous and let it rest about 1 hour in the fridge.
Divide it into 8 balls then work them until younhave the shape of a small sausage that you will insert on a skewer. Let them rest.
While that time, prepare the anchovy sauce.
Place the mint, anchovies and garlic in a mortar and crush them, then add the olive oil, the olive paste and the vinegar. Taste and adjust the seasoning if necessary. Keep it on the side.
Now prepare the yogurt sauce.
Cut the cucumbers into quarters, remove the seeds in the centre and cut them into small cubes. Mix them with the yogurt and the sumac and keep it on the side.
Lightly brush the kofte with olive oil and grill them 2-3 minutes at a medium heat. Turn them when they get a nice brown coloration. If you are doing it in a pan, bring the oil to a high heat, sear the beef quickly on each side and put in on the side in a dish. When all the skewers are pre-cooked, cover the disf with foil and finish the cooking of the meat in the oven for 10-12 minutes at 180°.
Place the kofte on a large serving plate with a bowl of sauce on the side.


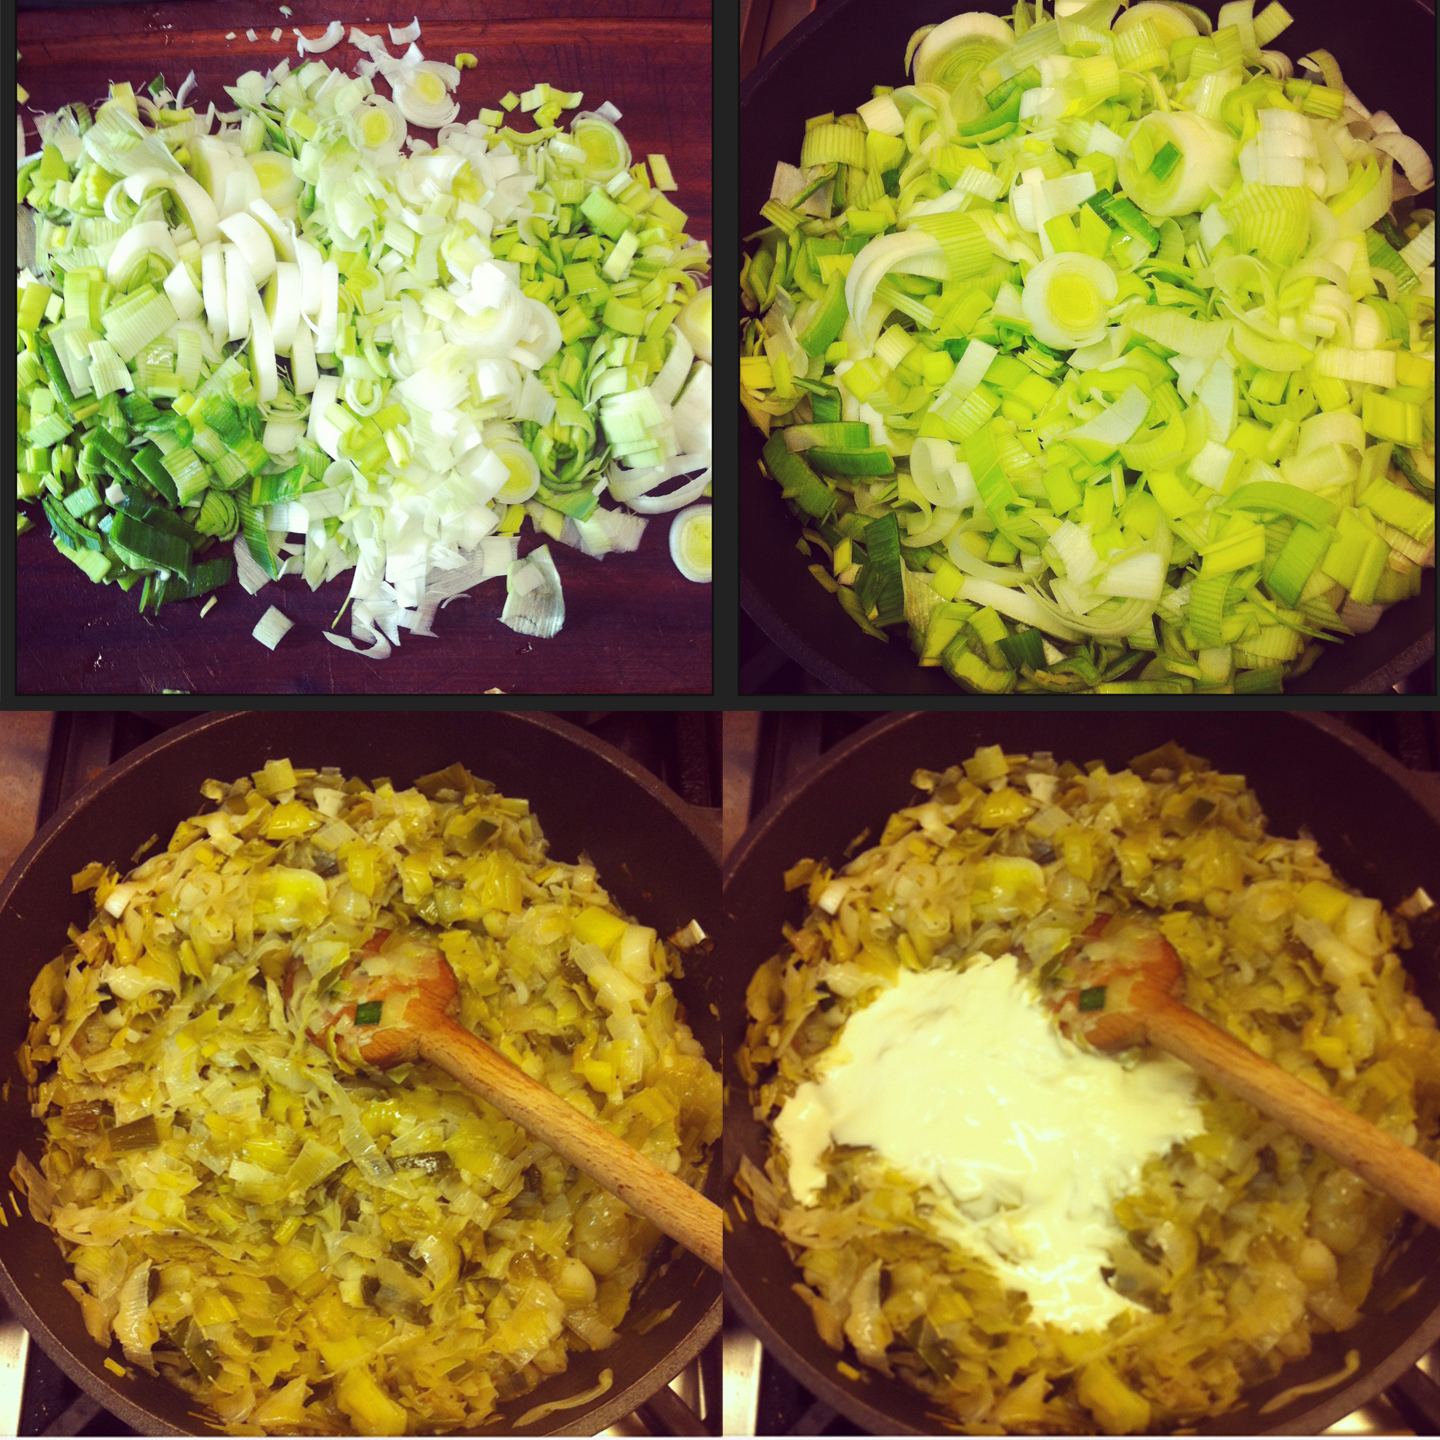
Broccolini Salad with Sweet Sesame Dressing
Ingredients
100g of broccolini
40g of french beans
60g of sugar snap peas
1 tsp of groundnut oil
10g of fresh coriander
1tsp of sesame seeds
1/2 tsp of nigella seeds
Ingredients for the Dressing
25g of tahine
20ml of water
1/2 garlic clove crushed
1/4 tsp of tamari soy sauce
1 tsp of quality honey
1 tsp of cider vinegar
2.5 tsp of mirin
Salt

Method
Prepare the sauce
In a bowl, whisk together all the ingredients until you obtain a thick and creamy sauce that will be easy to spad. otherwise, add a little water and check the seasoning.
Get read of the broccolini leaves and cut them the size of the beans.
Bring to a boil a large pan of salted water and blanch the french beans for 3-4 minutes then the sugar snap for about 2 minutes then the broccolini for 2-3 minutes. Use the same water and place the greens under cold runnin water once they are cooked in order to stop them from cooking longer and to keep their green color. The greens are cooked but still a little crunchy as they are used for a salad.
In a pan, quickly roast the seeds and let them cool down.
Coat the greens with the oil and mix them with the seeds and coriand leaves. Place them on a serving dish and serve with the sauce on the side or pour it on top at the last minute.

Blondie
Ingredients
140g of white chocolate blanc (buttons or roughly chopped)
125g of butter
150g of caster sugar
2 eggs
1/2 tsp of vanilla extract
210g of plain flour
1 pinch of salt
1 handful of roasted and roughly chopped pecans

Method
Brush a brownie dish (46x23cm) with melted butter and cover it with parchment paper.
Preheat your oven to 160°.
In a bain-marie, melt the white chocolate and the butter and let it cool down then add the sugar, eggs and vanilla.
At last, add the flour, salt and pecans until you obtain an homogenous mix.
Pour it in the mold ans cook it 35-40 minutes until it gets a nice golden brown colour. The blondie is cooked when its center is still smooth but not liquid.
Let it cool down and cut it into squares before serving.
White Chocolate and Pistachio Cookies
Ingredients
250g of soft butter
400g of light brown sugar
75g of cast sugar
2 eggs
20ml of vanilla extract
500g of flour
1 tsp of baking powder
1 tsp of baking soda
1 tsp of salt
2 handfull of white chocolate (buttons)
1 handfull of roasted pistachios

Method
In the bol of your Kitchen Aid, whisk together the butter and sugars until it gets airy and white tehn incorporate the eggs and vanilla.
Mix together all the dry ingredients except chocolate and pistachios then incorporate them to the mix. Once you have an homogenous mix, reduce the speed and incorporate the chocolate and pistachio or do it by hand if you prefer.
Divide the dough into 3 to 4 balls and put them on parchment paper rectangles then roll them into logs and wrap them in the paper. Keep them in the fridge for at least an hour or freeze them if you want to use the dough later.
Pheat the oven to 180°.
Divide the dough into portions of 70g and put them on a tray covered with parchment paper. Leave enough space in between each cookies as they will increase while cooking.
cook for 11 minutes until the edges of the cookie gets golden brown.
The dough in the center looks uncook but don’t worry, it keeps on cooking while esting. Let them cool down completly and serve them straight away.