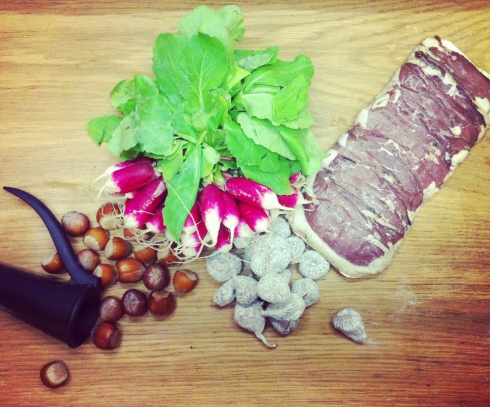
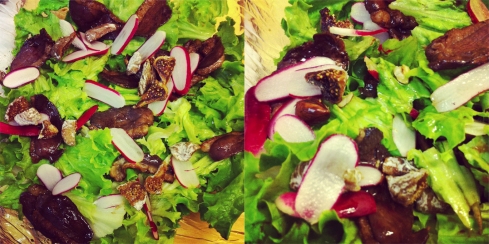
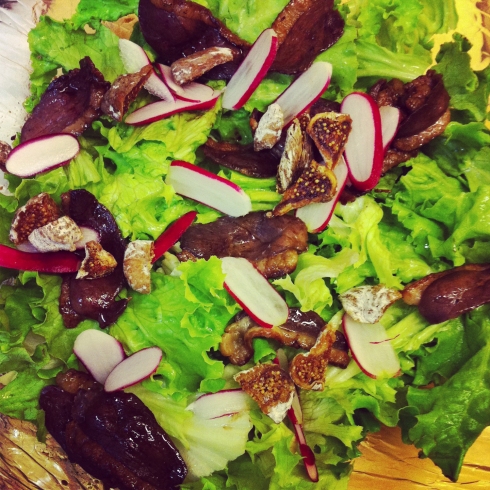
As Summer is close by but still hesitating to show up, I thought about that salad that I usually like to prepare in Autumn because of the smoked duck breast and the hazelnuts. Anyway, it’s always time to propose that salad recipe as it combines the forest flavors with the freshness of the crispy radishes and the sweetness of the dried figs.
We may call it the Four Season Salad indeed…. Radishes for the Spring, Figs for the Summer, Hazelnuts for the Autumn and Duck for the Winter….!
Ingredients:
- a bunch of radishes, trimmed, washed and thinly sliced lengthways
- a smoked duck breast
- a dash of balsamic or raspberry vinegar to deglaze
- a handful of dried figs
- a handful of hazelnuts out of their shells and roughly chopped
- 1/2 tbsp of butter
- 2-3 handful of fresh lettuce, oak leaf salad or baby leaves
For the dressing:
- 1 tbsp wholegrain mustard
- 1 tbsp red wine vinegar or raspberry vinegar
- salt and pepper
- 3-4 tbsp vegetable oil
Method:
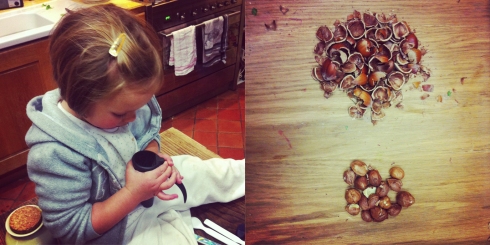
If you have fresh hazelnuts, find some patient hands to get them out of their shelves and get rid of any hard leftovers… Find a funny nutcracker for example and make it a toy for your kids!
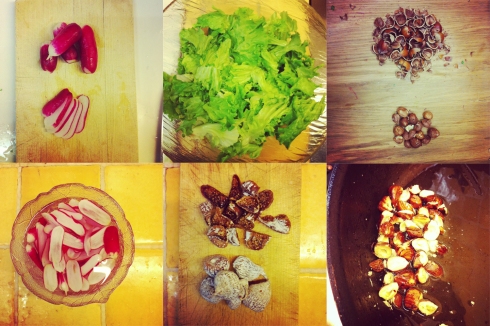
Get all the other ingredients ready to assemble:
Wash and spin the salad,
Thinly slice lengthways the radishes and plunge them in cold water to keep them crispy,
Quarter or roughly chop the figs into 1cm square.
For the hazelnuts, heat the butter in a pan and gently fry the hazelnuts to release their flavor and give them a nice coloration. Let it cool down.
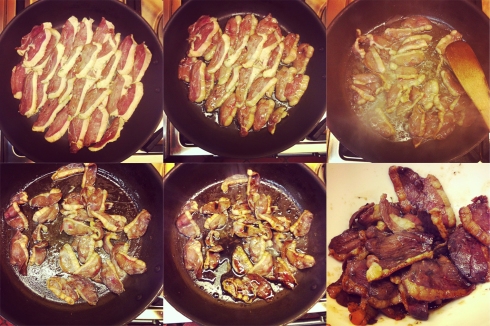
Using the same pan or not…. starting from cold or hot, cover the surface with the duck breast slices on one single layer and fry gently until it start to get crispy. Turn them upside down and keep on cooking for 1-2 minutes. Deglaze with balsamic vinegar or raspberry vinegar, let reduce and keep it at hand.
Prepare the dressing: whisk together all the ingredients and adjust to your taste.
When you are ready to serve the salad, pass the radishes through a colander and get them dry with a kitchen paper or towel.
In a salad bowl or a serving dish, spread part of the salad of your choice and sprinkle part of each the components on top of it. Drizzle with the dressing and make another layer with the remaining ingredients.
Serve straight away.
The salad is even better when you serve it while the hazelnuts and duck breasts are still hot….
Salade aux Magrets de Canard Fumés, Radis, Noisettes et Figues Séchées
Ingrédients:
- une botte de radis, lavés, équeutés et émincés dans le sens de la longueur
- un magret de canard fumé et tranché
- un trait de vinaigre balsamique ou aromatisé framboise
- une poignée de figues séchées
- une poignée de noisettes décortiquées et grossièrement émincées
- 1 belle noisette de beurre
- 2-3 belles poignées de Batavia, feuille de chêne ou mesclun
Pour la sauce salade:
- 1 cas de moutarde a l’ancienne
- 1 cas de vinaigre de vin rouge ou aromatisé framboise
- sel et poivre du Moulin
- 3-4 cas d’huile végétale
Méthode:
Préparez tous les ingrédients pour n’avoir plus qu’à les assembler avant de servir :
– lavez et séchez la salade,
– émincez les radis dans le sens de la longueur et plongez-les dans de l’eau froide pour qu’ils gardent leur croquant, versez-les dans une passoire 5 minutes avant l’assemblage,
– taillez les figues en 4 ou en petits dés si elles sont plus grosses,
– décortiquez les noisettes et prenez soin de ne pas laisser de morceaux de coquilles, faites fondre une noisette de beurre dans une poêle et colorez les noisettes pour qu’elles développent leurs saveurs et prennent une belle teinte dorée, gardez-les de côté dans un bol,
– dans la même poêle ou pas, à froid ou à chaud, disposez les tranches de magret de canard en une seule couche et faites les frire 3-4 minutes, retournez-les et laissez-les frire 1-2 minutes sur l’autre face. Si il y a beaucoup de gras, débarrasser l’essentiel puis déglacer la poêle avec un trait de balsamique ou de vinaigre aromatisé à la framboise. Les magrets sont toujours dans la poêle. Réservez hors du feu.
– dans un petit bol, préparez la sauce en mixant tous les ingrédients et en ajustant les saveurs selon votre goût.
– lorsque vous êtes prêt à servir, disposer une première couche de salade sur un plat de présentation et parsemez la surface avec les noisettes, les radis, les figues et les magrets, versez de la sauce salade et recommencez le processus pour les couches suivantes.
Cette salade est encore plus savoureuse lorsque les magrets et les noisettes sont encore tièdes au moment de la servir.

